
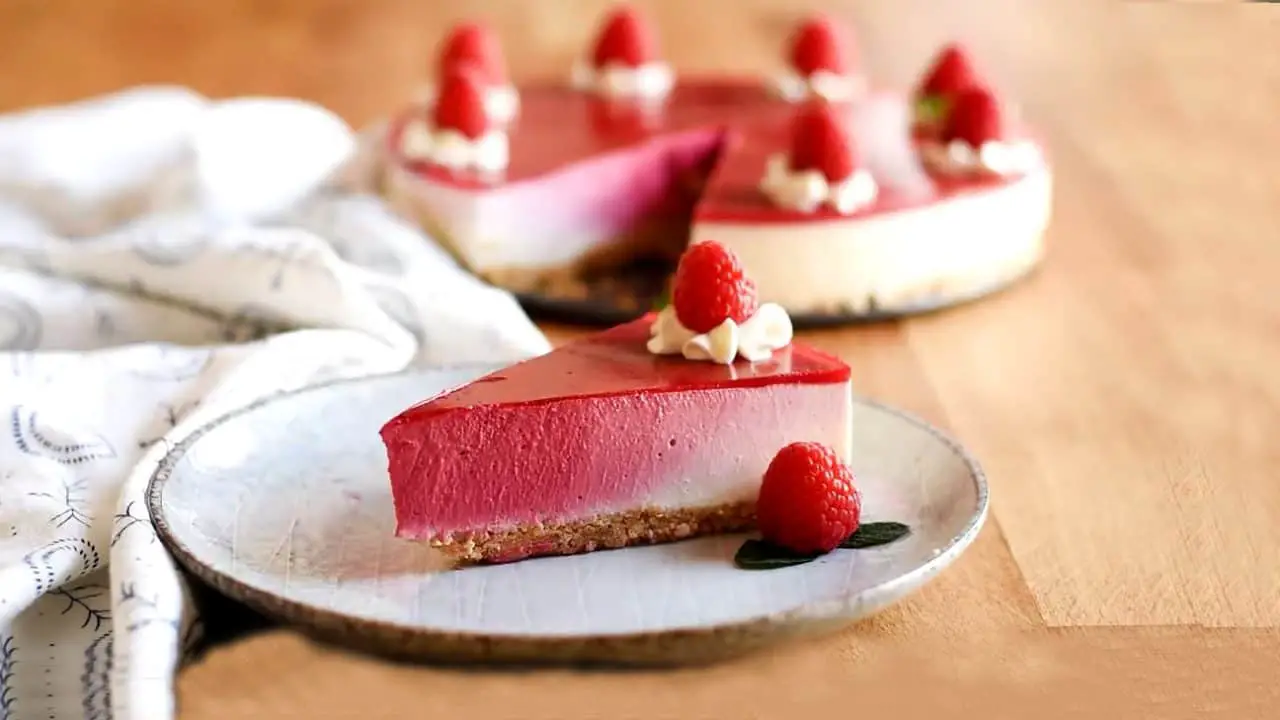
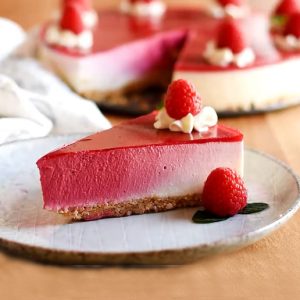
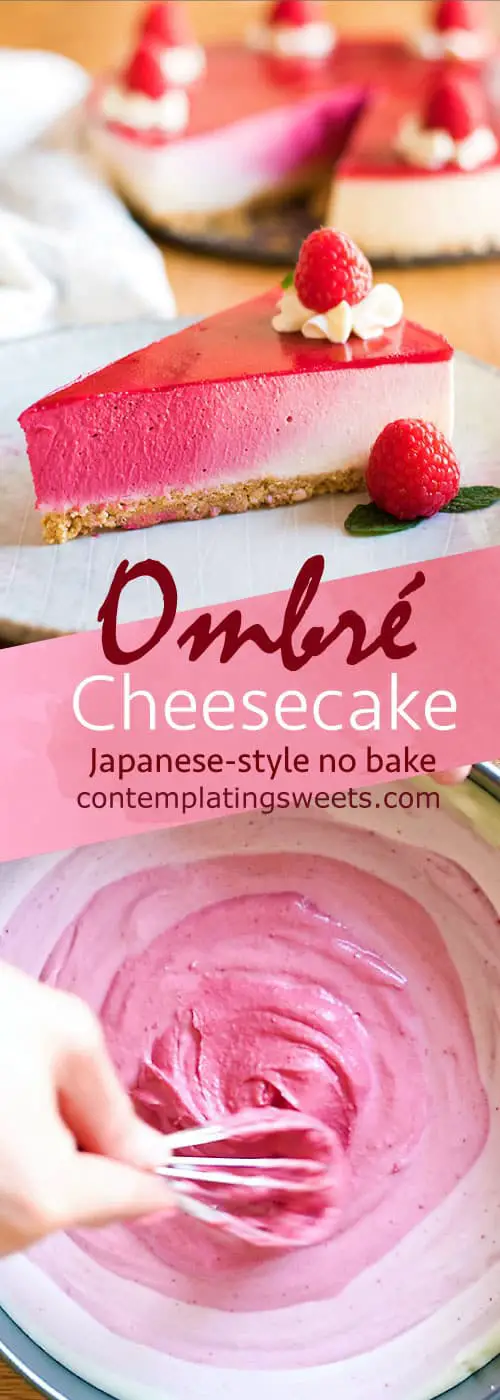
This Pink Ombre No-Bake Rare Japanese Cheesecake recipe is not only visually stunning, but it’s also incredibly easy to make. The cheesecake’s pink Ombre color is all natural and comes from the addition of freeze-dried raspberries. Unlike traditional cheesecake, Japanese rare cheesecake is made with Greek yogurt which gives it a creamy, tart and tangy taste.
Valentine’s day is coming up, so I needed to make something PINK! It’s perfect, isn’t it?
Japanese Rare Cheesecake
The style of this Japanese cheesecake is a no bake cheesecake called “rare” cheesecake. Japanese no bakes cheesecakes are different from American ones because they use yogurt. It’s more tart, and a little less sweet. Just how I like it. I used thick Greek yogurt for this recipe, and the result was silky smooth!
Pink Cheesecake With the Natural Color and Flavor of Freeze Dried Raspberries
I try to avoid food coloring whenever possible, and I found a great alternative for this recipe. Freeze dried raspberries (you can buy it at this link, but you can also find them at Trader Joe’s and Target)! I took a bag of freeze dried raspberries and I crushed it up until it was a powder, and ran it through a strainer
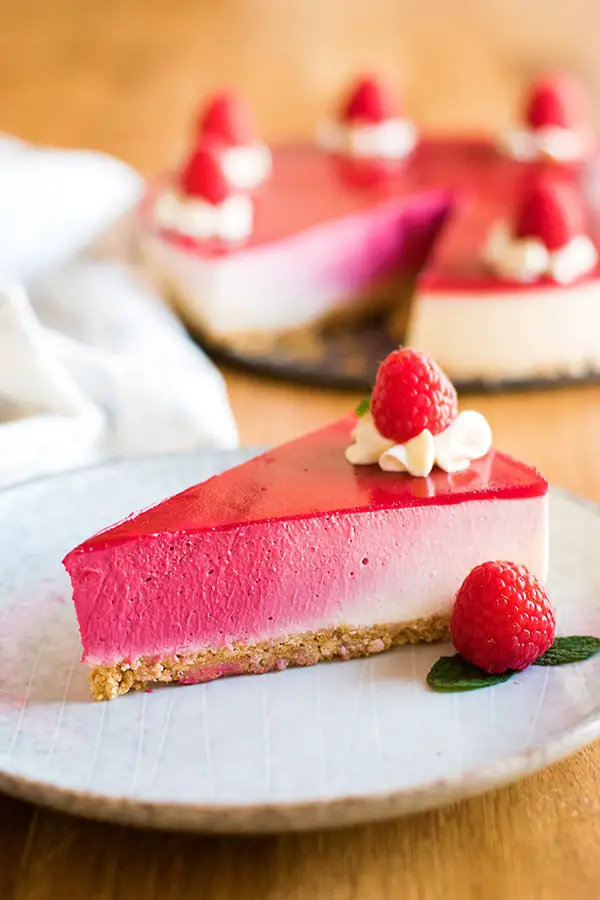
to get rid of the seeds. It adds color AND flavor! So not only is the color ombre, the flavor is too. It goes from very very raspberry to medium raspberry, to plain. So fun for a pink Japanese cheesecake!
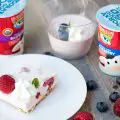
You can keep your cheesecake’s top simple, or you can try adding a layer of raspberry jelly! I personally liked the shiny red top, because then the ombre is kind of like a surprise, when you serve it! You can also garnish it with whipped cream and raspberries. I used my favorite piping tip, Wilton 2D.
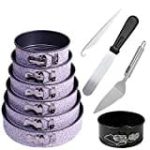
You’ll need a 9 inch springform pan (<- that’s the one I have, but I bought mine in a three size set). I use my springform pan all the time in baking. I really think it’s worth getting one! You can probably get it at Michael’s with a coupon at a good price, or by checking out the equipment section below.

This ombre pink cheesecake recipe is a little bit of work, but it is really just SO pretty, it’s totally worth it! Plus, you’ll save yourself from a headache because this is a no bake ombre cheesecake. Check out the video below to see how I made the pink ombre cheesecake!
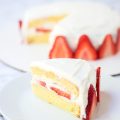
If you are a cheesecake fan, you can also also try my Meyer Lemon White Chocolate Cheesecake
Pink Ombré Cheesecake
Ingredients
- 1 package graham crackers 9 crackers
- 5 Tablespoon unsalted butter melted
- 2 8 oz blocks cream cheese softened
- 1/2 cup granulated sugar
- 1 Tablespoon gelatin
- 3 Tablespoon cold water
- 1 1/4 cup full fat Greek yogurt
- 300 ml whipping cream
- 1.5 Tablespoon lemon juice
- 1 bag freeze dried raspberries around 1.25 ounces per bag
- jelly topping, raspberry, whipped cream garnish optional, see notes
Order Supplies Online


Instructions
Prepare the Crust
- Bring the cream cheese, yogurt, and cream to room temperature.Crush the graham crackers and mix with the melted butter in a bowl. Press it into the bottom of a 9 inch springform pan. Set aside in refrigerator until ready to use.1 package graham crackers,5 Tablespoon unsalted butter
Bloom Gelatin
- Put cold water in a very small container, and sprinkle the gelatin over it and allow it to bloom. If the gelatin isn't all being absorbed, you can try stirring it up. Set aside about 1 tablespoon of the cream.3 Tablespoon cold water,1 Tablespoon gelatin
Prepare Cheesecake Filling
- In a large bowl, whisk together the cream cheese and the sugar.2 8 oz blocks cream cheese,1/2 cup granulated sugar
- Add the (remaining) cream, yogurt, and lemon juice, and stir well until completely smooth. If the batter is very thick, it won't pour well. You want it to be a pourable consistency. If it isn't, try popping it in the microwave for a few seconds to loosen it up.1 1/4 cup full fat Greek yogurt,300 ml whipping cream ,1.5 Tablespoon lemon juice
Crush and Strain Freeze Dried Raspberries
- Crush the freeze dried raspberries in the bag it came in. I usually just open it up and press all the air out, zip it back up and crush it with my hands.1 bag freeze dried raspberries
- Pour the raspberry powder into a very small eyed strainer/sieve over a bowl to remove seeds. Remove any extra seeds that fell through the strainer. Set aside.
Add Gelatin to Batter
- Pour the 1 tablespoon of cream into the gelatin and microwave for 5-10 seconds until it is all melted. Stir the mixture up and pour into the big bowl of cheesecake batter, and stir well to combine.300 ml whipping cream
Color the Cheesecake Batter
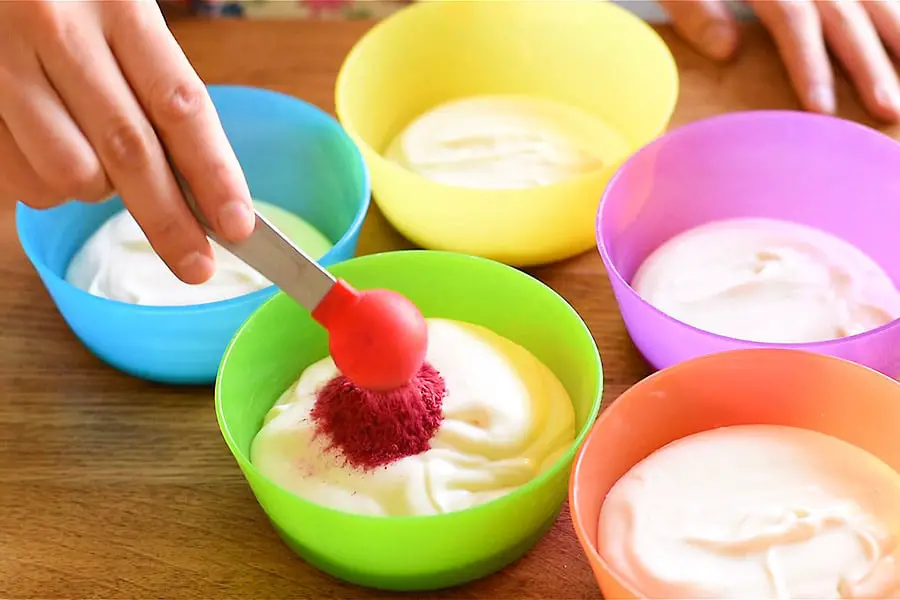
- Get five small bowls (I use my kids' Ikea bowls), and ladle the cheesecake batter into them.
- Here's the trick. You want to leave some of it white, and you want to put a little bit less in each successive bowl. Meaning, you'll have the most white, and then a little less in each bowl after that. Start adding the powdered raspberries to the small bowls. You want the bowl with the most cream cheese to be the lightest, so start by adding a half teaspoon of raspberry powder and see how you like the color. There isn't a set in stone amount you should add, so try experimenting. Just make sure not to run out before you get your darkest one colored! The bowl with the least amount of batter should be the darkest.
Assemble the Cheesecake
- Pour the white batter into the spring form pan and smooth it out.
- Next, pour the lightest pink into the center of the pan. Use a small whisk, spoon, or spatula to spread it out a bit.
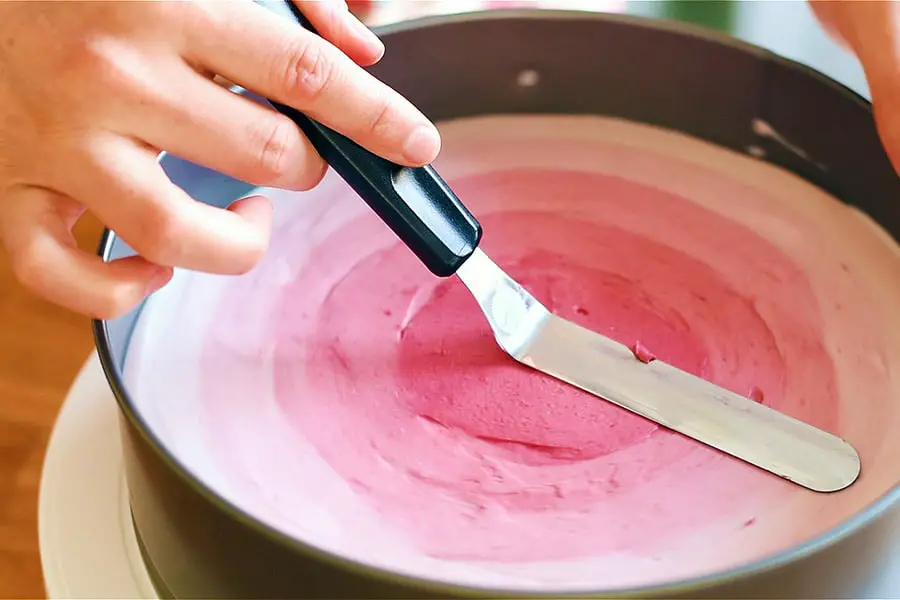
- Repeat with the next darkest batter, until all of the batter is in the pan.
- If the top is not totally smooth (it depends on how loose your batter is), use an offset spatula to smooth it out. The offset spatula method can also help blur the lines between the colors, giving a smoother ombre look.
Refrigerate and Serve
- Refrigerate the cheesecake for at least two hours. When you are ready to eat it, run an offset spatula or a butter knife around the inner edge to separate the cheesecake from the pan. Add additional garnish, or a smooth jelly topping (see note)jelly topping, raspberry, whipped cream garnish
Notes
Nutrition


I made this for Christmas 2020. I used what I had in the house. The only difference from your recipe was… I used raspberry/pomegranate Greek yogurt and freeze dried sour cherries. It wasn’t as beautiful as yours but it tasted phenomenal.
That sounds amazing! Where did you buy freeze dried sour cherries?
Hello! This looks amazing!!
Is the gelatin what allows you to mix color into the cheesecake and form it without it all mixing together?
I want to attempt to make a nightsky cheese cake, with a crescent moon and blue for the sky, with silver sprinkles for the stars. But I’m worried the yellow moon would just melt and become a mess with the blue color.
Thanks!!
As long as it’s thick enough, it shouldn’t run together! That being said, I haven’t tried making a specific shape, so I can’t say how difficult that would be.
hi there Your cheesecake looks amazing! Can you freeze this cheesecake or can you put in in the fridge covered two to three days before? Meaning if I made it Friday, would it still be ok for Sunday or is it best to freeze it? Thanks
Jessica from New Zealand
Thanks Jessica! You can wrap it and freeze it, but it should be good for a few days in the fridge as well!
Oh Jesus, if I just opened my eyes and read a little better I would have realized you stated in your directions that it needs to sit for two hours, haha I’m so sorry. I’m sure you get many comments or questions on things you already took the time to write into your recipe, I didn’t mean to be obnoxious…. thank you anyways!
Haha, no problem! Actually, I’ve had typos in more than one recipe, so I’m always glad when things get pointed out to me! Hope you love the cheesecake!
Hi there! My goodness this looks absolutely delicious. I was wondering, after looking at your recipe I was wondering where the total cook time of 2 hours and 50 minutes comes from? If it’s 20 prep and 30 cook, where does the other 2 hours come from? Thanks so much and this recipe just looks fabulous.